

Simple answer…. I will do it with my eyes shut.
However, less about my abilities as a Photoshop Wizard, we are speaking a newbie tutorial . Fortunately for you guys, feathering in Photoshop isn’t especially difficult, and with the advice of me, Eddy, you’ll have the ability to feather your way through the harshest of scenarios from here .
Feathering in phPhotoshops a skill that can add a style to your pictures, and the fantastic thing is that wowon’te a massive tutorial.
Now buckle up…because we are in for a hell of a ride because we know the way to feather in photoshop.
Lets do so!
There are two Chief Methods to Feather
Notice, I said “primary” manners. The most frequently used methods to attain feathering in Photoshop. !
Now that having been said, there are probably different ways, particularly as newer versions of Photoshop are constantly introducing new features, but these techniques are tried and tested by several photoshop professionals on the internet, and on Youtube too, so lets stick with what we understand eh?
Lets begin:
Strategy #1 Select > Modify > Feather
This attribute was in Adobe Photoshop because I caI recall, seriously. I recall using Photoshop 7 and I used this all of the opportunity to make feathered Pictures in a variety of forums I had been a part of!
Ok so to begin, that which you wish to do is pick the picture or component you would like to feather. For the sake of the tutorial we’ll use a picture I made some time back of a Big Ass Seagull onto a shore .
The Goal of this picture was to make it look somewhat-realistic, therefore sharp borders and All that simply Wouldn’t look good in Any Way, so feathering was a crucial thing to consider:
Ok so let us concentrate on the Bird. The original picture was cut out with the pencil tool, therefore gave me a few incredibly sharp borders to utilize, but I had to make them natural appearing. The illustration below shows what we’d originally when we cut the bird, then finally the way the edges have been smoothed, together with the techniques you will find today.
Ok, so What You Would like to do is proceed and Ctrl/Cmd + Click your layer to pick it, so you’ll know you have done this properly as you’ll see the marching ants selection around your picture:
Out of here, you need to Visit Select > Modify > Feather
The next step is to play to find out what seems best, but at the upcoming settings dialog, you might choose to replicate this example and attempt a feather of about 3 Pixels.
From here you wish to Press Ctrl/Cmd + Shift + I to reverse your choice, or rather visit Select > Inverse, then only press Delete (Or Edit > Clear). This may then”feather” your choice according to your preferences, in this case, 3 Pixels, providing us a softer advantage:
Finishing Touches
Although this effect will decrease the harshness of the choice, it looks far from realistic, therefore as a finishing touch, I’d choose among those default non-circular brushes, and employing the Smudge Tool, on approximately 40% potency start smudging around the borders to make a realistic fur/feathering effect. However, this is just another tutorial in itself!
Strategy #2 — Select and Mask
Ok so the initial technique was trendy, but that is the actual shit right here (quotation Nate Diaz), it’s many more configurations and only overall is a far more effective instrument, when thinking of the way to feather in photoshop, its own primary method.
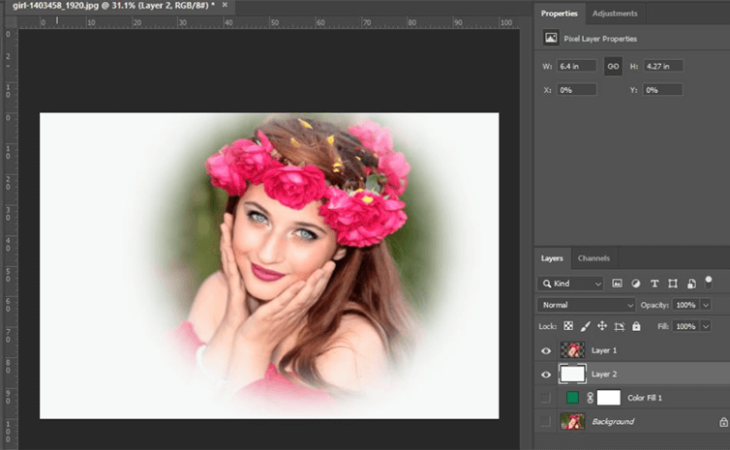
We are going to use the identical project for instance. Prior to Starting, you will want to Be Certain your properties panel is up, by visiting Window
> Properties
On occasion it is possible to press Select and Mask as well as the choices don’t seem, and this is only because the properties panel is not open.
After this is finished, you are going to want to Ctrl/Cmd Click in your thing again as we mentioned before, and once more you will understand since the marching ants appear around your thing for the choice you have made.
From here, you’re going to want to put in a Extension Mask by clicking this button in the layers Panel.
Now you need to click the Mask You’ve just created, then visit Select > Select and Mask:
After this happens you are going to input Select and Mask, which givegive a fresh load of settings to tinker with. What you need to do is proceed and change the perspective to On Black, which I find easier to view my chosen image on.
Today as you can see in the next configurations, I raised the charm, the feather, and also the comparison also to provide the feather a refined appearance. I also altered the border (negatively) to tighten up things a little. When you’re done, press okay .
Beneath you can see the difference between both pictures, together with the recently edited one about the left much more elegant, smooth, and mixed to the backdrop; not a harshly cut cut-outment”plonked” on the composition.
Wrapping Up
So there we have it, a couple of the very best techniques on the best way best to feather in photoshop, particularly Number 2 together with the mask and select. I hope you learnt something precious now, thanks for tuning into Layerform Design Co!
Questions about How to Feather in Photoshop
I cant get rid of this”marching ants”
Ok so you have made the choice and now you are stuck using the dreaded marching ants, but just how can you eliminate them then proceed on to your second choice?
All you have to do is media Ctrl/Cmd + D to deselect the selection, then it is possible to move to feathering something different in phot{oshop!
Could I use these methods in Photoshop CS6?
Yesthese techniques are fairly much”evergreen” and will not go out of style almost any anytimen. Unless Adobe chanchanges manner you may feather in photPhotoshopt that I dontdon’t that occurring shortly.
These strategies will work in each edition of CC+ onwards.
The best way to feather in Illustrator?
Ok now that is for a different tutorial completely, as Adobe Illustrator works much differently to Adobe Photoshop, however in the meantime, have a look at a couple more of our Illustrator Tutorials.